Getting Started
Volunteer Fundraising
The hardest part is starting, but we are here to get you on track.
And you are not alone! Fundraising Support is available for meetings, and we can help you strategise and make plans on the call.
This page is focused on helping you create a plan, suggestions on how to use your first few months, and all the admin and tools you will need to keep on top of your fundraising.
Form a strategy
You need a plan from the start, which you can adjust as you go. Planning ahead will break down your fundraising into manageable tasks. Brew a cuppa and set aside a few hours to go through the three activities below. Use the form at the bottom to share your strategy with us!
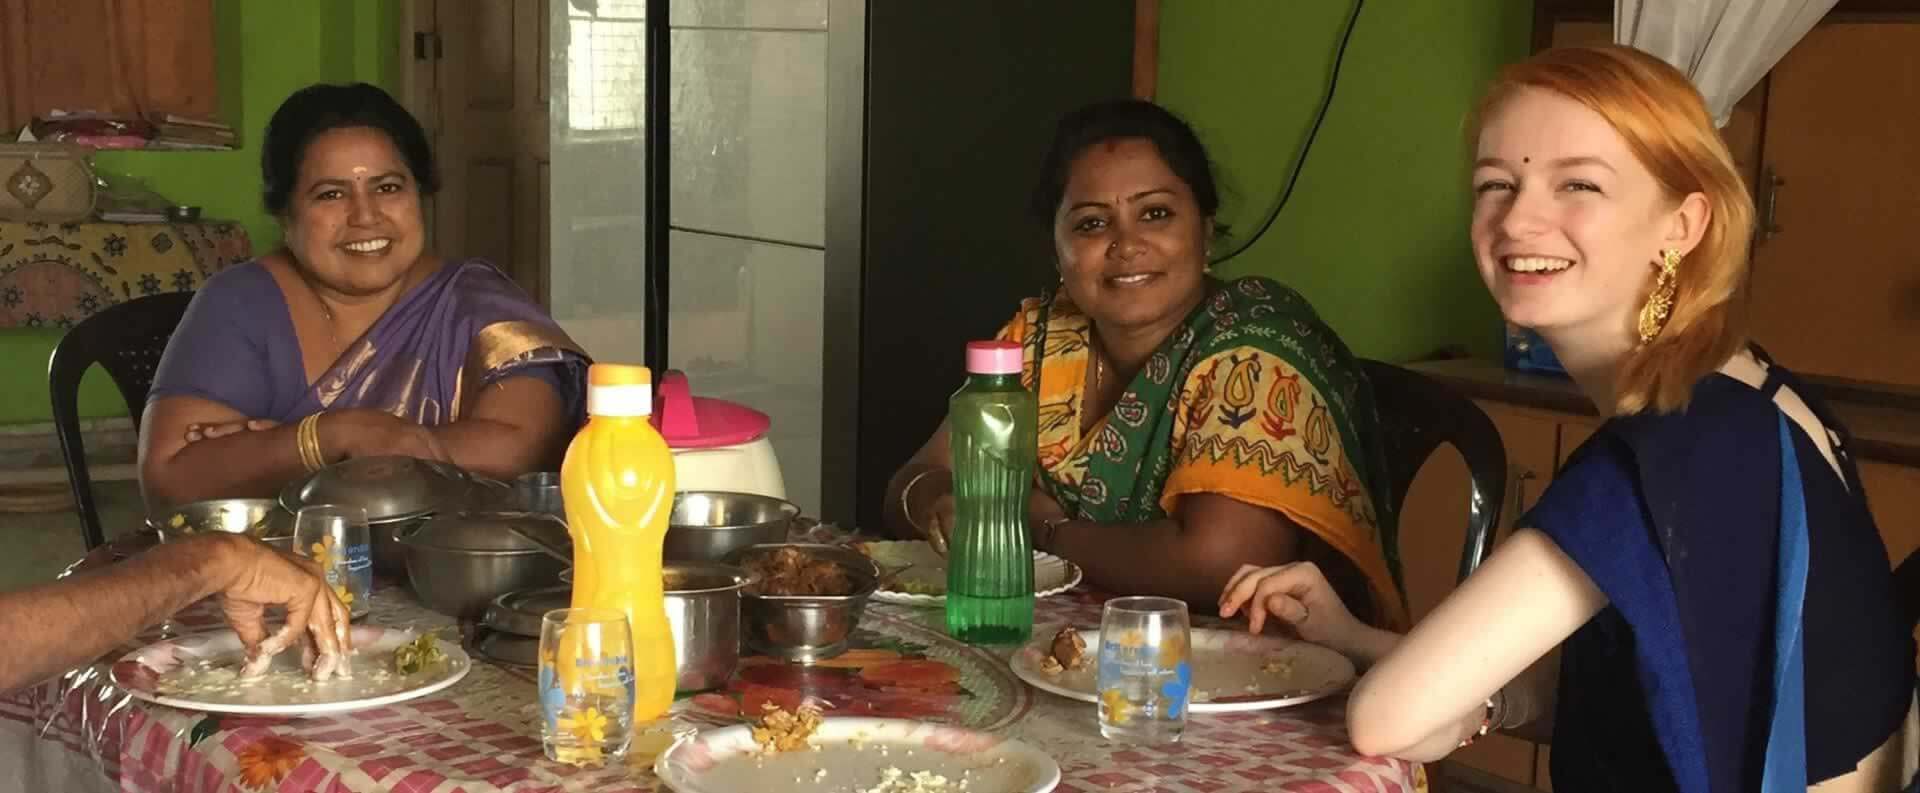
Think back to Selection: you need to focus on ideas which play to your personal Strengths, and are targeted towards specific Communities who will attend. It’s important that you don’t always ask the same groups for support.
Try to come up with a list of at least ten strengths and ten communities. We’ve provided some examples below to get you started:
Strengths
- Skill with any artistic or creative media (knitting, cartoons, photography, etc.) – anything crafty!
- Playing or coaching sports or physical activities.
- Language skills, or good grades in a specific school subject.
- Cookery & baking.
- Musical abilities or being part of a band.
- Confidence in public speaking or leafleting.
- Gardening or decorating.
- Specialist knowledge or even trivia – you could use these for quizzes or educational workshops.
Communities
- Family (immediate and wider), and friends.
- Your school, college, or University.
- Your workplace.
- Family/friends’ workplaces.
- Family friend groups; also family of friends.
- Any groups you participate in (clubs, teams, hobbies, etc.).
- Family & close friends’ groups (nan’s book club, your sister’s cycling team).
Use our Ways to Raise page for ideas to get you started and come up with as many fundraising ideas as you can!
- Generate ideas (10+): come up with way more than you think you will organise, but make sure they are all things you would genuinely consider. Sit down with a few friends and get creative! Base ideas around your Strengths and vary them between Communities.
- Develop your favourites (5-10): pick maybe half to develop further – jot down a few specifics. Where and when could you hold the event? Will you need catering? What else could you include (refreshments, raffles)?
- Choose a first event (1-2): select a few of each type of event that look promising and add more details. If the event is catered, who specifically will you approach or work with? What is the contact number for a potential venue?
Think of it like a pyramid: at the base are all the ideas you start with; the mid-section contains events you have developed to think about some of the details; and at the top you should pick a few events that you want to aim to arrange first.
You can always go back to the base of the pyramid and develop an older idea if you decide to hold more events – but it’s good to have a bank of ideas to draw on!
Visualise the time between now and Training so that you can plan your event ideas at specific times. This will help you think about what to arrange now, and what can be picked up closer to the time. It will also help you identify times when you can’t fundraise (such as exam revision), so that you can make plans outwith these periods.
- Create a timeline: any format that makes sense to you – get creative and share photos of it with us! It can be an actual line like the one below, or a blank calendar of months, or even post-it notes stuck to a window! We recommend pen(cil) on paper.
- Add breaks: these will include exam revision, family holidays, birthdays, or work training weeks – anything for which you will need to focus on something else and won’t be fundraising. This helps you plan your events around important periods in the next year.
- Schedule some events: finally, pencil in your event ideas from the previous section. Drawing it all out will help you avoid putting similar events next to each other. Space any larger events out and make sure you give yourself time to arrange them.
This kind of visualising also helps break down the target amount. For example, £6,000 across 12 months is £500 a month. One mid-sized event like a quiz night with refreshments and a raffle could easily make one- or two-months’ amount in a single evening. A generous Trust grant might cover another month in a single cheque.
Please share your strategy with us so that we can offer advice tailored to your plans! If you’ve done it on paper, send scans or photos to Tom.Chambers@projecttrust.org.uk, or fill out this form online:
Your strategy can always be adjusted later as events unfold, but having a plan in the first place will make everything much easier to sort. Once you have a plan, look at the ways to advertise your fundraising campaign (not just individual events!).
Checklists for your first month
- Read through this Fundraising Pack!
- Book an initial1-to-1 chat with Fundraising Support.
- Ask to be added to our Fundraising WhatsApp groups for Volunteers!
- Set up social media and JustGiving accounts.
- Make a strategy and share it with us.
- Use your strategy to start planning your first event.
- Create a letter & leaflet, and send them to over 100 researched Charitable Trusts!
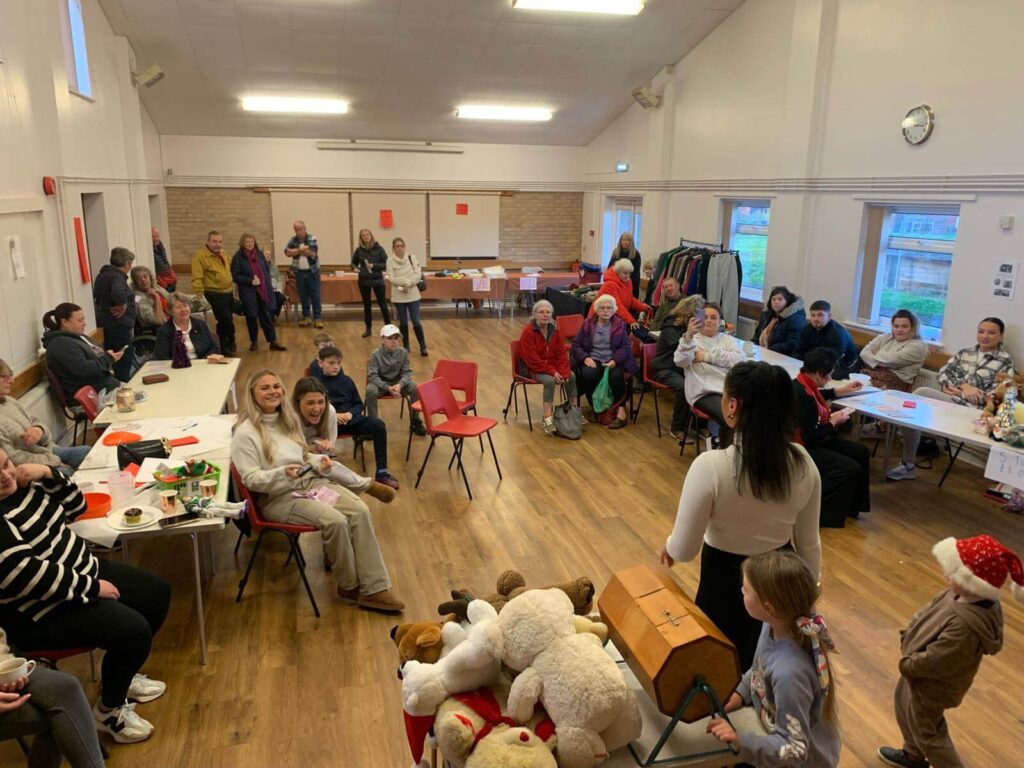
- Organise & run your first event – this will get the ball rolling, raise awareness, and feel like a huge achievement. Share how it goes with Tom and please ask for help with planning if you feel uncertain about how to get going.
- Do at least 2 of the things from “Advertise your efforts” below.
- Approach at least 5 people or organisations from your Networking list.
- If you don’t ask, the answer is always no.
Keep track
Keep good records of your fundraising. We have a template below which you are welcome to use, but make sure you have a system that works for you. As well as digital records, consider a box or folder to store physical records, receipts, posters, and letters.
There are two things you need to record carefully with every donation:
We can tell you how much you have sent us, but you need to keep your own records (especially when someone pledges you money for a future date – we have no way of knowing about this!).
When people donate or attend a charitable event, they expect their entire donation to be sent to the charity in a timely manner. This is your responsibility: to record exact amounts and send them to us within 28 days. See Sending in Money for details.
You need to know who has supported you, so that you know where to send any thank-you or update letters. Records will also make sure you don’t approach someone for sponsorship who has already supported you recently (or for the same event).
Anyone who supports you, especially with money, will expect you to thank them. See Thanking your sponsors below.
Advertise your efforts
You’ll find that lots of people are keen to support you, but they need to know what you’re doing in the first place. They can’t support you if they don’t know you are fundraising!
JustGiving is an online platform for charitable fundraising. You can create your own page linked to Project Trust to which people can make donations. As long as your page is linked to us, donations will be sent through automatically. Follow this link to create a linked page:
Follow this link to create a JustGiving page linked to Project Trust!
You can advertise your JustGiving page on fundraising social media and materials, which gives people a way to donate without exposing personal information (such as your home address, phone number, or bank details). Pop a QR code for your JustGiving page URL on all leaflets, flyers, and posters, so people can get to your page from their phones.
There is a 2% transfer fee from JustGiving, but if your page is linked to us we are able to absorb this cost so that you can receive the entire donation. This means you can also use this as a platform for selling tickets for events if you want – the payment process is done for you, and you can easily see who’s purchased tickets.
Capture an online audience to help support your fundraising! Creating a page or account for your Project Trust journey allows your supporters to follow your progress and adventures.
Remember to target your online presence towards a range of ages; TikTok has a younger userbase, Facebook older. Instagram is popular with Volunteers for its visual/graphical focus and wide userbase. But do whatever makes sense for you and your fundraising!
We love seeing what our Volunteers are up to, so please share any fundraising or general PT accounts with us so we can follow you (especially Tom – if he can see what you’re doing he’ll chase you less often for updates).
Make a leaflet to leave in local shops, and hand out at events. An eye-catching leaflet lets someone take away a brief summary of your efforts with them and can impress Trusts if you include them in application letters.
Your leaflet should include:
- A brief introduction to who you are.
- An introduction to Project Trust.
- How to send you money – vital! (eg. JustGiving)
- Why you are choosing to do an international placement.
- How else people can support you.
Make sure your leaflet is readable but looks good – we are happy to proofread and offer comments on any leaflet designs.
Try approaching a local printer company and offering the back cover for advertising space, in exchange for free printing of a few hundred leaflets. If the printers aren’t interested, try approaching other local businesses to see if they would exchange ad space for the printing cost. If you don’t ask, the answer is no.
Use physical posters to advertise events (or just your fundraising) in community spaces such as your school or college, workplace, or group noticeboards. You can include QR codes or social media handles to link to your online presence (eg. JustGiving).
It can be helpful to use similar themes and colours across all your materials (leaflets, posters), including social media. This creates a sort of branding for your fundraising, which saves starting from scratch for each post or poster; when done well, people will learn to recognise your events by the colour scheme of the graphics alone, or even the title font.
Keep it simple – many Volunteers use the colours of their Project country’s flag as a starting point (red and yellow for China, blue and white for Honduras, and so on). You are welcome to add the Project Trust logo to your materials. We have a certain level of existing brand recognition in which we encourage you to share.
Approach your local newspaper and see if they’d be happy to publish a small feature in their next edition! Likewise for any groups you’re a part of who run regular newsletters or circulars. This is a great way to get the word out to your local area beyond word of mouth.
If there’s any local radio near you, or a podcaster you know of nearby, ask them if they’d be willing to include you for an interview about your fundraising! This is an excellent way to reach a wider audience, especially if there’s a way to share links to social media or JustGiving pages (some digital radio stations might have options for this).
Blogs are a great way to keep loved ones updated in more detail than social media allows while at your Project, but there is no reason not to start one now! Even if you only write one blog post before Training, it paves the way for you to use the blog later, as people can start to follow it during your fundraising.
Networking
Advertising is important, but equally you want to connect your message to specific people in your local communities. Tell everyone you know – this needs to be cross-ages, as most people who give out money are likely to not be in your age group. As well as monetary donations, people and Businesses can also help with:
- Goods (to sell online or at a car boot sale).
- Time (to help you plan and run events).
- Raffle prizes.
- A hall to hire at a reduced rate.
- Services (such as printing leaflets for you).
- Sharing your JustGiving or fundraising page.
Consider writing letters if you don’t know someone personally, especially if you struggle to find a social media account for them (local & independent businesses will vary). An adapted version of a Trust letter is a good template. If you don’t ask, the answer is no.
As ever, if you are worried about finding the right tone to ensure your requests are polite, Fundraising Support is here to proofread and offer advice.
Try writing to local businesses!
Try writing to local businesses in your area to ask for sponsorship. This can be small independent shops nearby, or larger businesses with headquarters in the area of your nearest town or city. Find something personalised and positive to say about their business (eg. Coming from Suffolk, if wrote to Aspall, I would say how they are the most famous Suffolk cider brand), and ask if they would sponsor a local young person (that’s you) in your charitable project.
Try asking for a specific amount (£50-150 depending on their size). Some businesses will be more inclined to respond positively to a closed question asking for a specific amount, than an open question where you ask for “anything”. On the same scale as Trusts, if you can find 100 or even 200 local businesses to write to, only a handful need to respond positively for you to see a noticeable amount of your target fundraising come in.
Thanking your sponsors
Whenever someone sponsors you, it is essential that you thank them. This can range from an informal thank-you card for people you know personally, to a relatively formal letter in response to any Trusts or businesses who offer you support.
Write a thank you letter now, so that whenever a Trust or business sponsors you, there is a response ready to go which just needs their name and your signature.
What to put in a thank-you letter
- Thank them for their generosity.
- Reiterate why their support is so valuable to you.
- Offer to keep them updated (see below), and share any public blogs or pages you have created.
When you are offering to update a sponsor on your progress, this does not include social media or blog posts – even if they choose to follow these, to a Trust or Businesses an “update” is something you send to them personally: a letter, email, or newsletter.
Think about how many updates are realistic, so that in your thank-you letter you can offer something you will actually send out. It is better to under-promise and over-deliver than promise monthly newsletters and never get around to a single edition.
The minimum is two letters or emails: the first after fundraising and Training are complete, and the second after your return to the UK. As with original Trust letters, it is fine to write one update letter and send it to all of your sponsors.
“Fundraising showed me that I had much better community bonds than I had realised through witnessing how well I was supported by the people in my village.“
– Beau, Malawi Volunteer